In January, I installed the Windows 8.1 trial on VirtualBox. The trial is good for 3 months. I need a more permanent solution so I bought Windows 8. I chose to buy a physical DVD so I have it in case I need to re-install it. This turned out to be an “adventure” as Staples lost it the first time and there was some trouble picking it up.
This post assumes a tiny bit of experience with Windows 8. If you don’t have any, see the trial post first.
Creating the VM from DVD – failed 64 bit attempt
The Windows 32 DVD didn’t stay in drive. 64 bit did though so I tried installing that. In VirtualBox, you click the CD/DVD icon and set storage to “host drive.” After the Windows splash screen, I got “your PC needs to restart.” So far so good. Then I got
Error Code: 0x000000C4
Control command delete didn’t allow me to kill the virtual machine. I didn’t even have a cursor/pointer on my main Mac. I had to press the power button on my Mac to get out of the virtual machine and close it.
I saw there were CPU requirements for 64 bit Windows and decided to try 32 bit again. I’m doing anything powerful in Windows so I don’t need much memory. The 32 bit DVD worked fine the second time. A later found out there is an instruction you can give VirtualBox to load 64 bit Windows.
Creating the VM from DVD – successful 32 bit attempt
This went smoothly. The gist of what went on:
- Install now
- Enter key from product key card
- Choose custom: install windows only (advanced) – because not upgrading
- Install Windows: “drive 0 unallocated space”
- Started installing – showed % then blue windows splash for a few minutes then rebooted
- Personalize screen – customize
- Turn off shared info settings – don’t send data to MS
- Prompted to sign into MS account. I entered the wrong info (on purpose to see what would happen.) I got prompted to create a local account. Perfect. Went with that.
- Saw getting critical updates screen for a while since the DVD is older – the screen changes color as it downloads
- Reboot again
- Saw installing your apps – again the screen changes color as it goes
What I setup
- view > switch to scale mode so don’t have to scroll up, down, left and right in Windows
- Boot to desktop instead of Windows 8 screen. This also allows shutting down by right clicking the windows icon at the bottom left.
- I used solution 3 in this post to get rid of the black help box
- in “tiles” went to command and pinned it to start menu and task bar so the DOS prompt is always handy. I use it a lot in Windows to avoid having to use Windows while still being able to test Windows behavior in Java
- Launched the control panel (which took a long time to load first time) so I could edit the PATH environment variable to add the path of javac
What I installed
- JDK
- The git app (because it is faster than setting up git manually) and login as me. This gets the git shell quickly
Accessing the DVD drive
I wanted to run a DVD to see what it looked like and if there was anything beyond the PDF and Shockwave files. (There wasn’t.) To get VirtualBox to show me the d drive, I went to devices > host drive and chose my DVD drive. Then the d drive turns into the real DVD drive instead of VirtualBox extensions.
As I was shutting down Virtual Box, I tried to eject the DVD from the Mac. My Mac didn’t recognize the DVD. I wound up having to wait until the Windows VM shut down (which took a while because Windows was busy patching.) Then the Mac saw the DVD as if I had just stuck it in.
A nice aside
I learned you can drag a swf (Shockwave) file to the browser URL bar to open it.
Communicating with the VM
I’m still using my github system to communicate so repeating that from my trial post.
You can copy/paste from VirtualBox. I decided to use github instead though as I already have the code I want to try on Windows in a private github repository. Github has a Windows client. I’ve never used it so decided to download to see what it is like. It is only 41.2MB, but downloaded really slowly. The app provided a UI to clone a repository in github which it automatically checks out into Documents/github/repo-name. The UI is nice, but I wound up using the git bash shell provided with the application. Which meant it really only saved me some setup.
Other options would have been Dropbox or just use the copy/paste functionality from VirtualBox. (I really didn’t want to do that for whole files.)
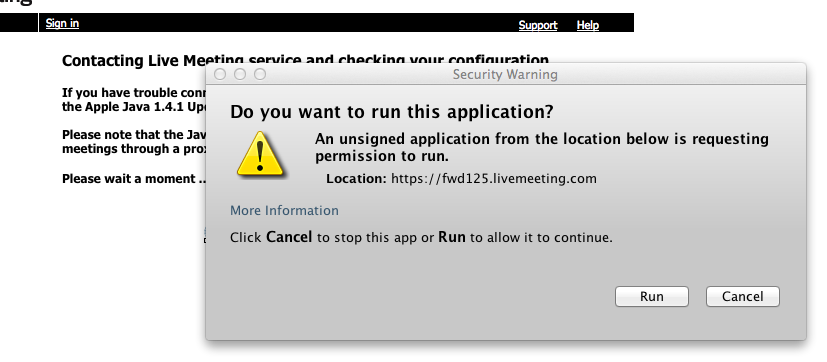
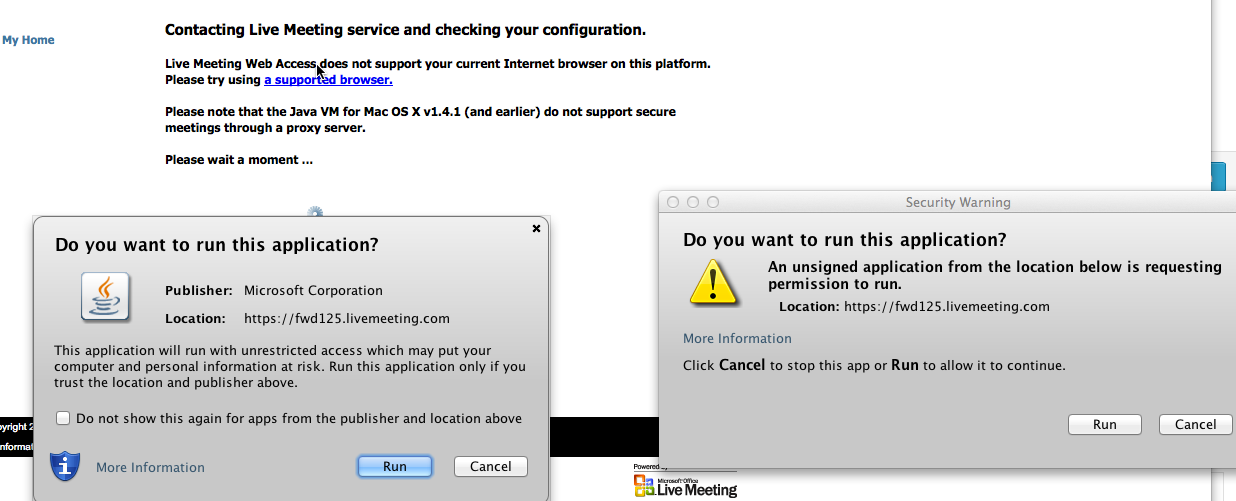
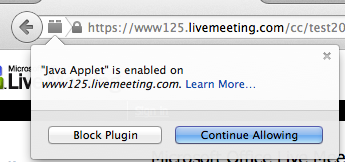
 It would be nice if Microsoft – a large company – would sign their applet to make this unnecesary, but ok.